My life as a former FreeBSD systems administrator turned C++ programmer
Using Fixit and chroot to repair a non-booting system
The trick:
You want to boot off a live CD (or USB stick) and use your system as if you had booted into single user mode.
The problem:
Booting off a CD means you have to mount your filesystems to a subdirectory. You keep editing the livecd's files by mistake instead of your installation's.
The solution:
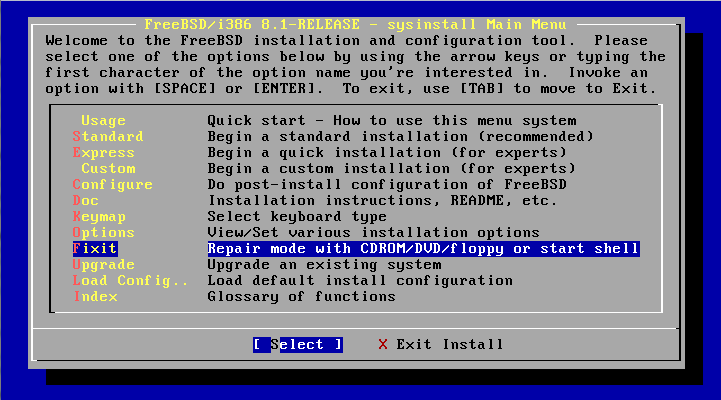
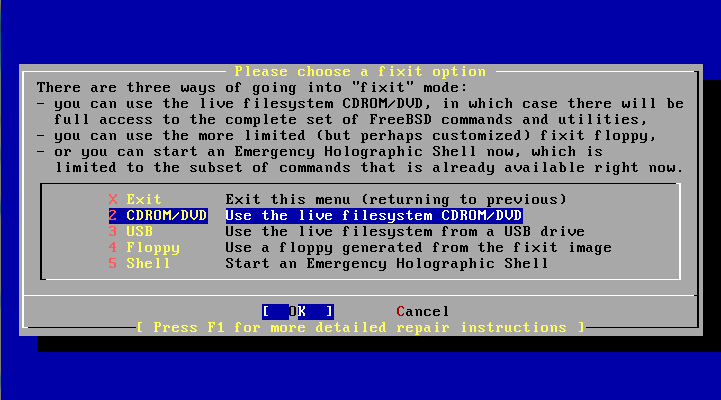
- Boot to a fixit/livefs
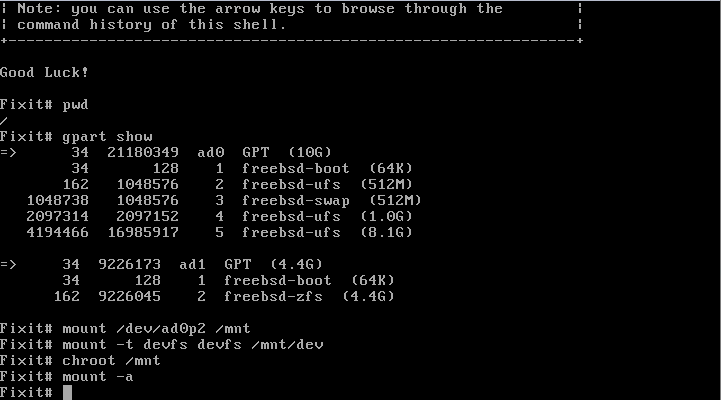
- Locate the root partition and mount to /mnt
- mount the devfs to /mnt/dev
- chroot to /mnt
- mount -a if you want to automatically bring up the other partitions
This is basic stuff, but it took me a while to learn this trick–Mainly because booting off a CD to fix something isn't a frequent occurence. The tips here are chroot and devfs.
Chroot changes the apparent root directory to someplace else. In other words it maps "/" to a subdirectory of your choosing. You can mount your broken rootfs to /mnt and then use chroot to make the current shell behave as if you had mounted the filesystem to "/". Now you can access /boot and /etc instead of /mnt/boot and /mnt/etc.
But /dev will be conspicuously missing after a chroot. That's why it's important/useful to mount devfs to /mnt/dev before doing the chroot. Then you'll be able to access your devices for mounting, partitioning, or MBR/bootloader repairs while in the chroot shell.
Here's an example from top to bottom:
Here's what / looked like before and after the chroot to /mnt:
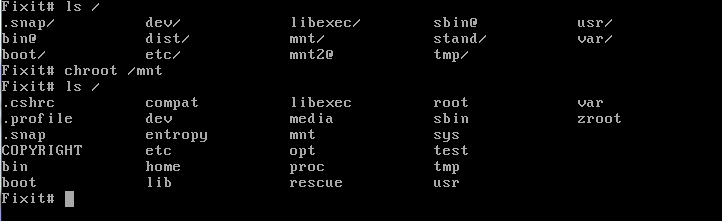
Now the userland paths are set up just as if you had booted into the broken system. This is a much better environment from which to do tests and repairs in most cases.
And just to be complete, here is how you can explicitly unhide devfs nodes (though I haven't needed to yet):
mount -t devfs devfs /mnt/dev
devfs -m /mnt/dev rule apply path null unhide

Leave a Reply