My life as a former FreeBSD systems administrator turned C++ programmer
Simple Tips
WordPress Permalinks and 404
014 years
The default permalink naming scheme used by WordPress is bad. Most people wind up changing it and most documentation on the subject of changing permalinks centers around redirecting the old links to the new ones so you don't erase all your hard-earned credibility.
This post is about a totally different issue when changing permalinks. A very few people will change their permalink structure and then find that every link clicked on the WordPress site results in a 404. This has nothing to do with migration or redirection–even links to posts made after the permalink change will 404.
The problem is in the apache configuration. If you're getting 404's, here's how to fix it: First of all, WordPress relies on mod_rewrite for non-default permalinks, so make sure that module is loaded. Second, there's a .htaccess file with the rewrite rules that needs to be able to take effect, so check the httpd.conf file section for your WordPress directory and try adding
AllowOverride All
And that should fix it.
Using Fixit and chroot to repair a non-booting system
014 years
The trick:
You want to boot off a live CD (or USB stick) and use your system as if you had booted into single user mode.
The problem:
Booting off a CD means you have to mount your filesystems to a subdirectory. You keep editing the livecd's files by mistake instead of your installation's.
The solution:
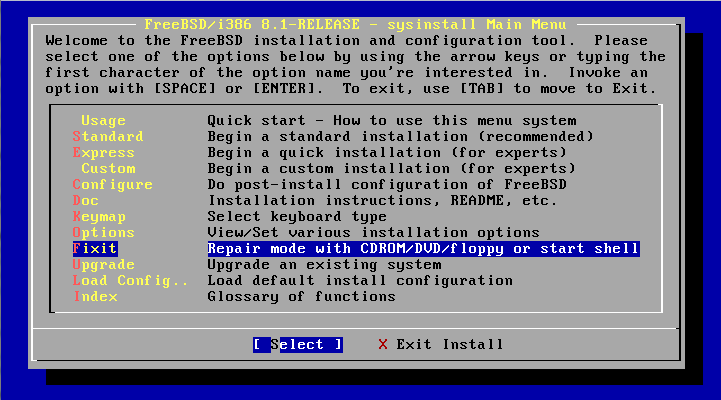
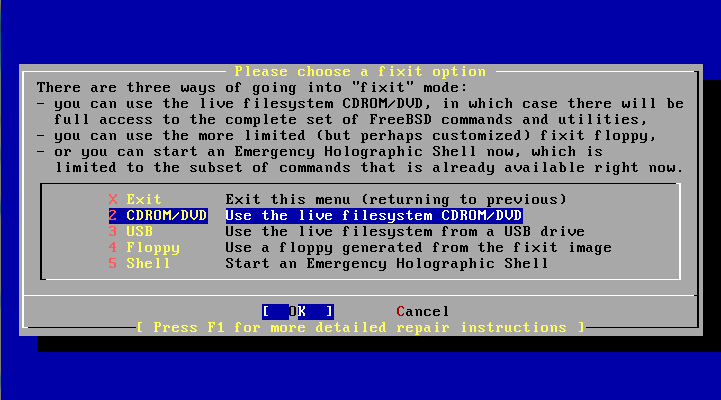
- Boot to a fixit/livefs
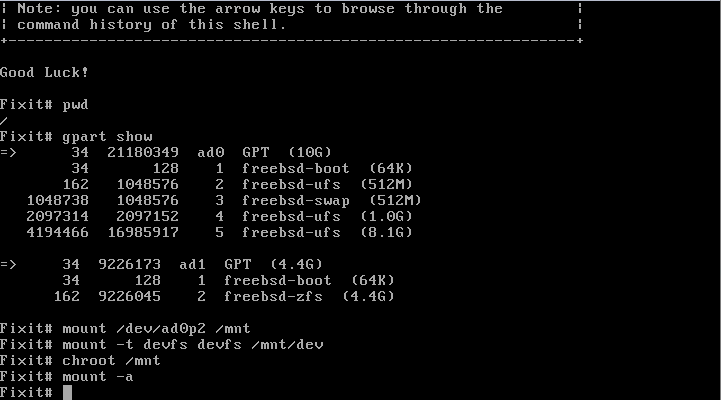
- Locate the root partition and mount to /mnt
- mount the devfs to /mnt/dev
- chroot to /mnt
- mount -a if you want to automatically bring up the other partitions
This is basic stuff, but it took me a while to learn this trick–Mainly because booting off a CD to fix something isn't a frequent occurence. The tips here are chroot and devfs.
Chroot changes the apparent root directory to someplace else. In other words it maps "/" to a subdirectory of your choosing. You can mount your broken rootfs to /mnt and then use chroot to make the current shell behave as if you had mounted the filesystem to "/". Now you can access /boot and /etc instead of /mnt/boot and /mnt/etc.
But /dev will be conspicuously missing after a chroot. That's why it's important/useful to mount devfs to /mnt/dev before doing the chroot. Then you'll be able to access your devices for mounting, partitioning, or MBR/bootloader repairs while in the chroot shell.
Here's an example from top to bottom:
Here's what / looked like before and after the chroot to /mnt:
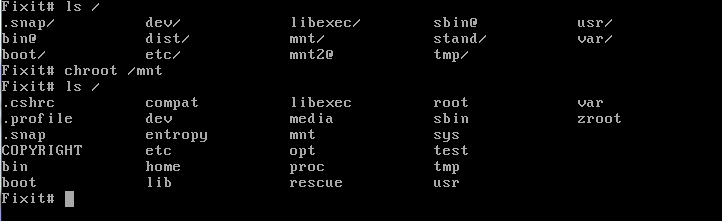
Now the userland paths are set up just as if you had booted into the broken system. This is a much better environment from which to do tests and repairs in most cases.
And just to be complete, here is how you can explicitly unhide devfs nodes (though I haven't needed to yet):
mount -t devfs devfs /mnt/dev
devfs -m /mnt/dev rule apply path null unhide
